Hello friends! Happy 2024!
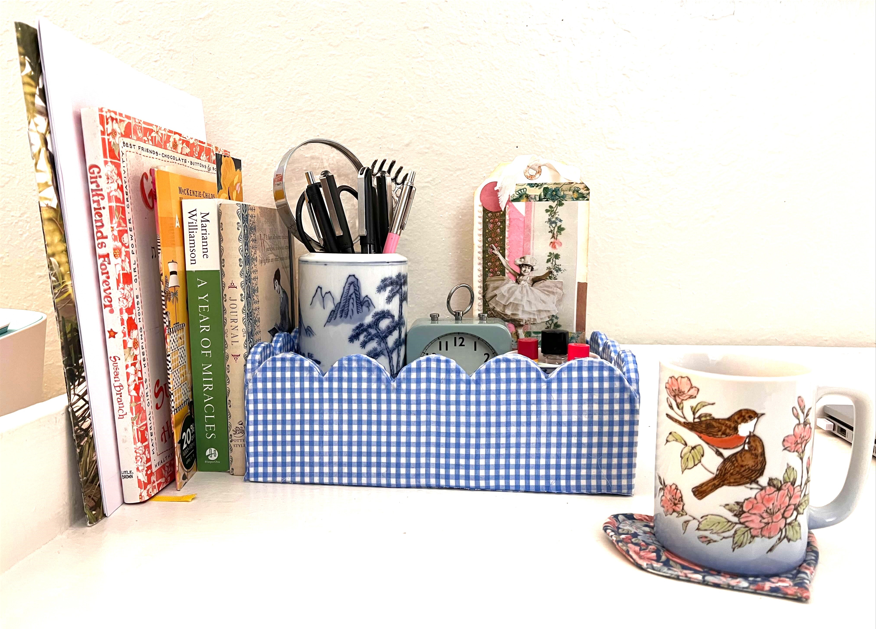
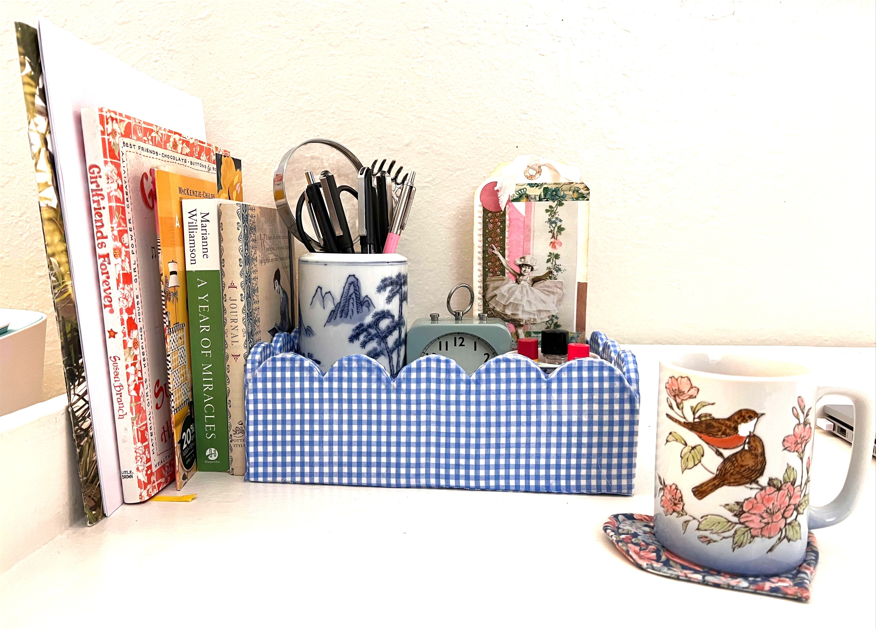
I’ve been very busy redecorating in my craft room. I’m excited to show you a full “before and after”, but for now, here’s a fun and useful desk accessory I made from an Amazon box and some recycled materials. I am in love lately with anything gingham and scalloped, but you can adapt this craft to make a tray that suits YOUR aesthetic.
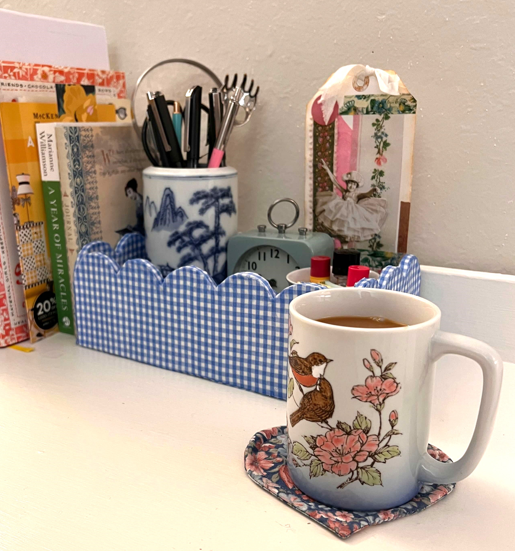
I have always had a little basket on this corner of my desk to corral all those little bits and bobs that accumulate. It’s very handy and when cleaning up or when elbows deep in a big project, the basket could be picked up and moved out of the way. However, a big part of this craft room re-do has had to do with creating a cohesive and calming color scheme. I bet you can tell what it is- lol! Who doesn’t love blue and white?
I was especially inspired this amazing image from Amy Chalmer’s blog, https://maisondecor8.blogspot.com/, that I found on Pinterest:
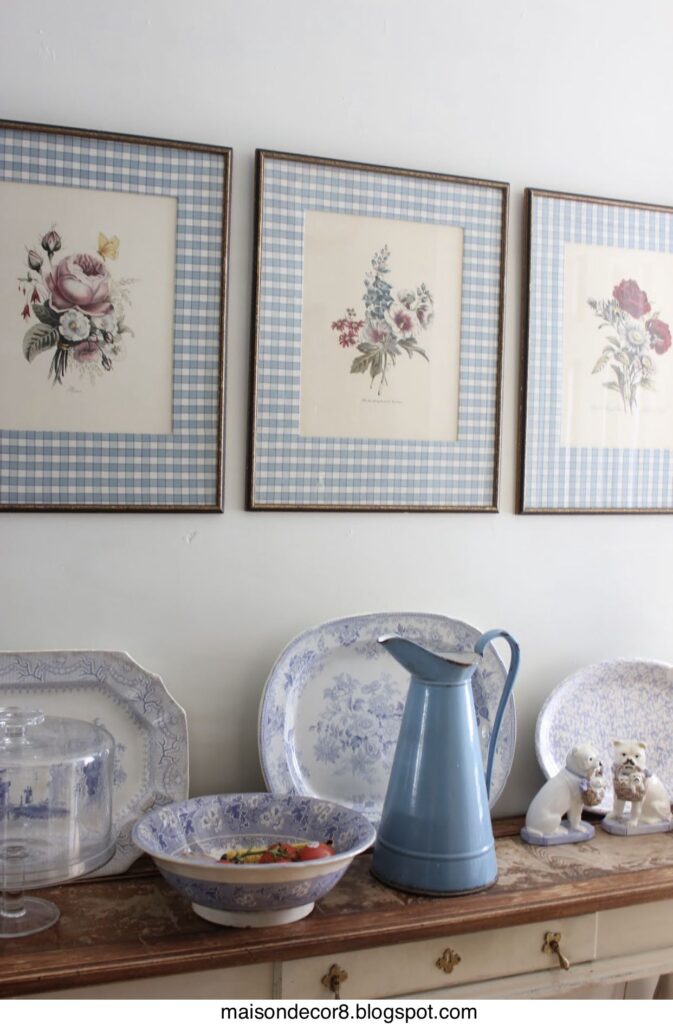
Those gingham mats on the botanical prints are just so… everything! I love them so much and I am planning to cover some picture mats in the same way. But in this case, my need was for a new tray for my desk, so I did what any crafty gal would do and I DIYed it from cardboard. I adore a project that I can make with recycled materials like old boxes and this leftover gingham I had on hand. You’ve seen me use it before- I participated in a fun Pinterest challenge a few years ago and made a box to hold all my buttons.
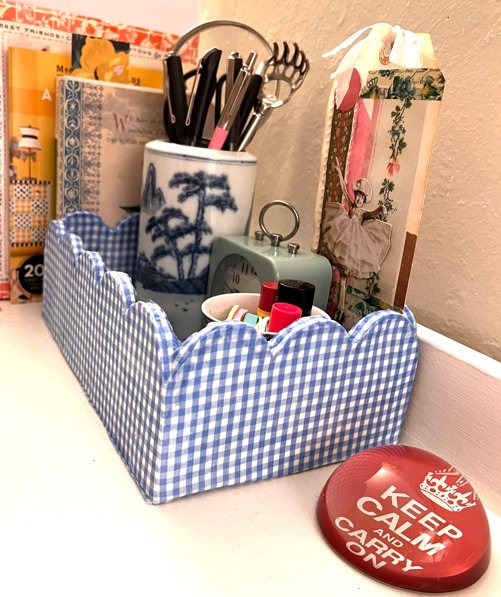
If you’d like to make something like this, let me show you what I did and give you some tips and tricks for a good result.
First, obviously, pick a good box! You’re going to want one that is not dented or wrinkled in any way. Next, remove all tape and labels as best you can. You’ll be gluing paper to your box down the road and you don’t want anything that will “repel” the glue and paper.
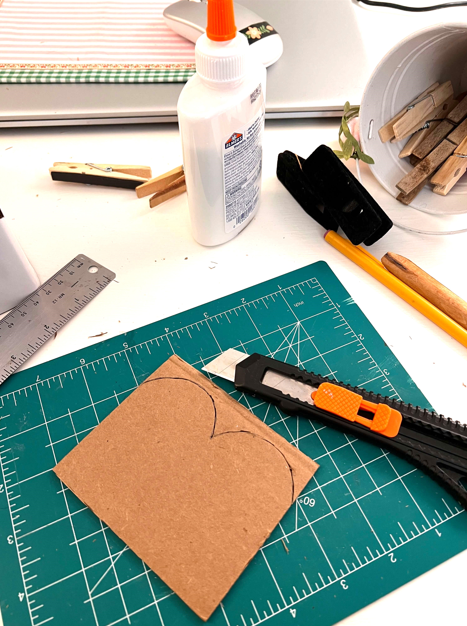
Here are the materials you will need (not everything is shown in the photo):
- A sturdy cardboard box in the length and width desired.
- A good knife (here’s the one I love)! I used a box knife for this project that has the little break lines on the blade so I could just keep breaking off a new, sharp blade.
- Cutting mat.
- A metal ruler.
- A pencil or pen.
- White PVC glue like Elmer’s school glue.
- Clamps or clothespins.
- Recycled copy paper. I had a whole bunch from a dress pattern that I had printed out with the wrong settings- so glad I could recycle it here!
- Mod Podge (you could probably continue using your PVC glue, but I just enjoy working with Mod Podge and used it for some of the later steps.
- Fabric of your choice.
Open up your box. Find the place on the inside where there is a little tab glued down and carefully cut it away from the box. To cut the scallops, you’re going to need your box laid out flat. Decide how deep you want your tray and cut the excess away. My tray is 3.5″ tall, so first, using the metal ruler and my knife, I cut 3.5″ from the bottom of my tray and set the rest of the box aside for later.
Planning the scallops is the hardest part. You want your scallops to fit evenly on all edges so none are cut in half or wrap around a corner so you’re going to have to plan out the size pretty carefully. I experimented with a bunch of small circle shaped things to find the one that when laid out, end to end, left me with a full scallop terminating at each corner. I tried glue bottles, spice jars, cans, etc. until I found the right thing. Then, to keep the scallops all even, I marked the bottle that I used straight through the center and I marked a line on my tray so that as I moved the bottle along the edge to trace the scallop shape, they were all even.
Once marked, it is time to cut the scallops and this is a bit fiddly. Here are my tips for getting a good result on this:
- Breathe!
- Go slow.
- You might find you have more strength to cut through the cardboard if you stand and use a counter height work surface rather than sitting at a table…
- But sitting might give you better control around the fine details so you’ll maybe want to experiment first with some scraps to see what feels better to you.
- Don’t think that you’ll be able to cut fully through the cardboard scallop on the first pass. Plan to have to cut one or more additional times. That’s why I remind you to breathe and go slow!
- I found it helped if I started with my blade in the junction point between two scallops and pulled toward me and off the cardboard to cut out a little wedge. Then I turned the piece and repeated on the other side of the scallop to get the other wedge. This worked better than trying to cut AROUND the scallop.
Golly, writing this out reminds me of just how involved this is! I suppose one could say, why spend all this time when you could just buy a tray at Home Goods, but where is the fun in that? I’d rather use up some scraps and such and create something that is uniquely mine which, I suppose, is the whole premise of my blog (and actually, my life!). Hopefully, you feel the same!
Now, back to our project…
Once all your scallops are cut out, you can put your box back together. This is fun because you’re getting to see what the final product will look like.
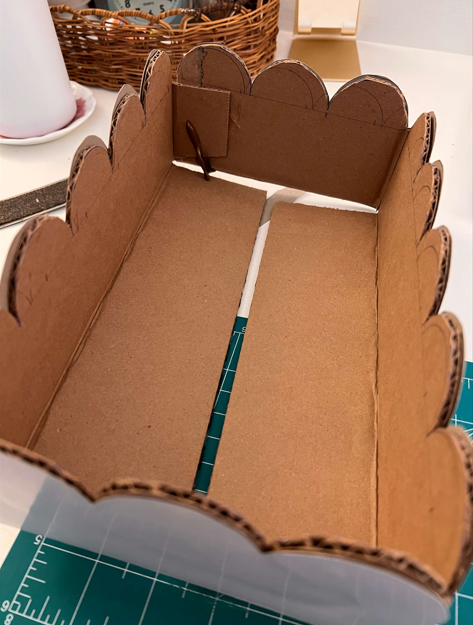
The next thing I did was to cut a duplicate shape from thin white cardboard and glued it over top. I am not recommending you do this, but you can see it in the photo above so I want to touch on it. I wanted to add strength and create a smooth white surface for my gingham fabric to be adhered to so the brown box and any markings would not be visible. It was difficult to align the scallops well and afterwards I decided I wanted a double layer of the corrugated cardboard and I discovered another way to get the substrate clean and white like I wanted so… don’t do what I did!
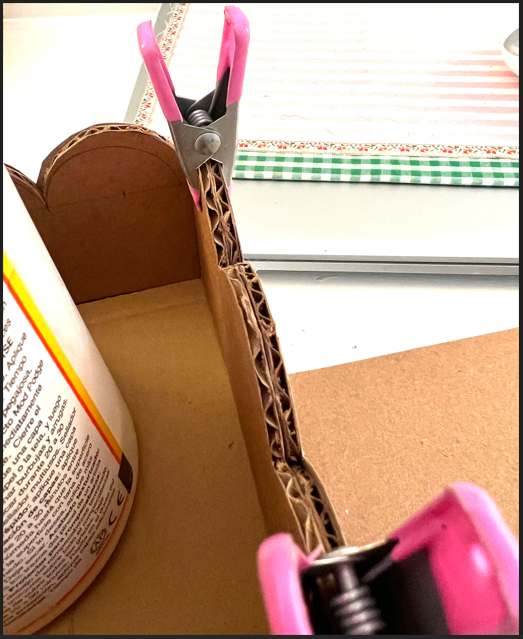
The next thing I did was to cut a tight fitting bottom piece of cardboard and lay it in the tray with a little PVC (Elmer’s School Glue). This creates a good sturdy base. Then, I cut more scallops! Yes, because I’m crazy like that! I measured the two long sides on the inside of my tray and cut cardboard to fit those lengths. I traced the scallops and then took out those pieces and cut them out. After doing that, I measured the two short sides inside my tray and cut cardboard to fit those. Do it this way because obviously, after gluing in the two long sides, the short sides will be shorter than they were before. Here’s a photo of the inside layer getting glued in:
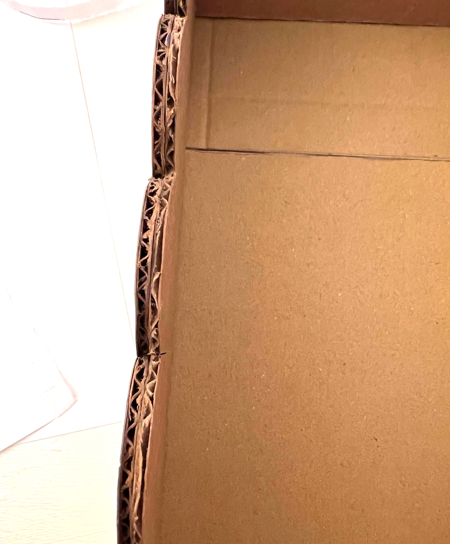
Once that is done, you have a good sturdy tray that can hold a lot of weight and last for years. I can’t tell you how much more “complete” it feels after this step.
By the way, I built this tray over the course of a week, just to give you an idea of the time commitment. This is not a 15 minute craft, by any means!
Alright, we’re in the home stretch!
Next, tear some of your copy paper into strips. Using your Mod Podge or a slightly thinned white glue, glue the strips over that open edge of corrugated cardboard.
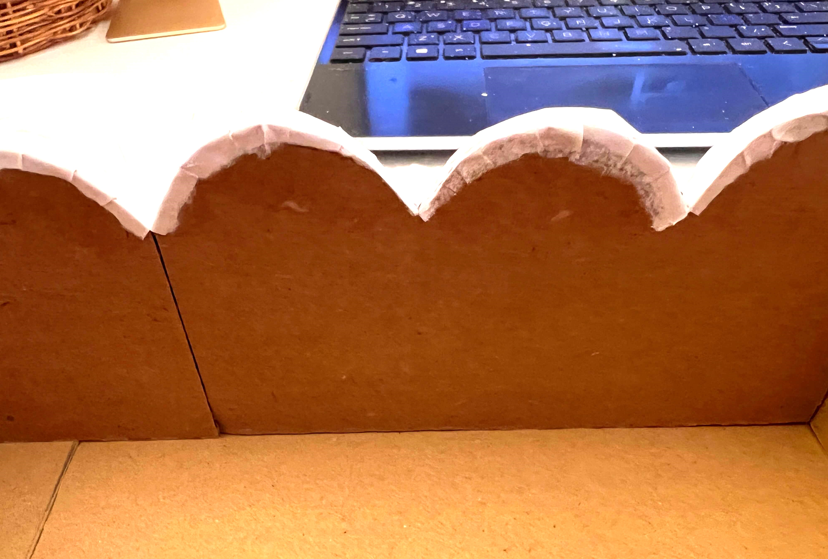
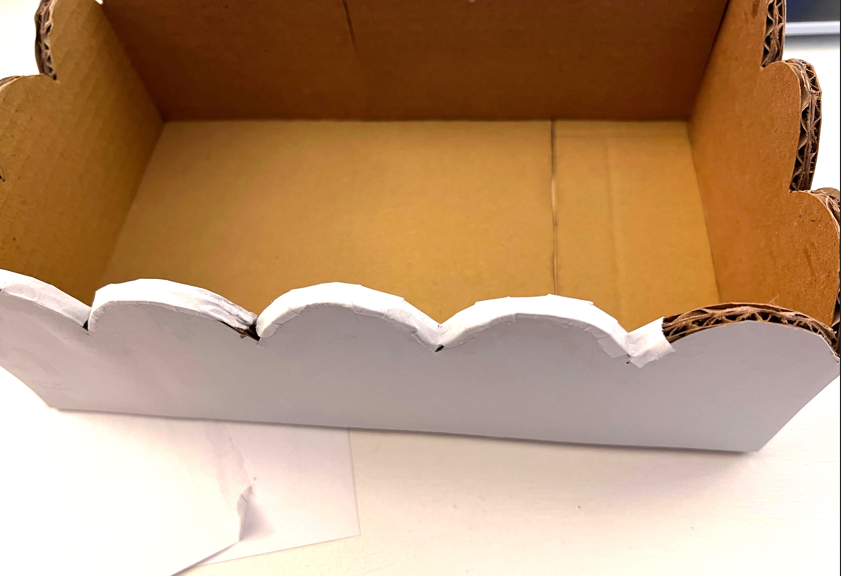
This will give your fabric a nice, solid surface to cling to. After that, I continued to use torn strips of copy paper to cover the tray inside and out. Again, take your time. We’re not doing a messy paper mache project, but we are carefully gluing the paper down to add strenght and give a clean background under the fabric. I did the inside one night and the outside the next night.
After the tray is covered in the paper, it will be nice and sturdy and you can glue your fabric in almost the same way. I first tore a strip of the fabric and glued it down just like I did the paper in the photo above. Then I glued the fabric down one side of the box at a time. With the fabric, I did apply the Mod Podge under AND over the fabric. Also I used a piece of fabric that was a little longer than the four sides of the box and was a little wider than 3.5″. I did not cut the scallops until all the fabric was dry. When it was nice and dry and stiff, THEN I took little scissors and carefully cut the fabric away along the edge of the scallops- both inside and outside. Then cut a piece of fabric to fit the inside bottom and one for the outside bottom and glue into place.
After everything is dry, give it one more coat of Mod Podge and let it cure for a day.
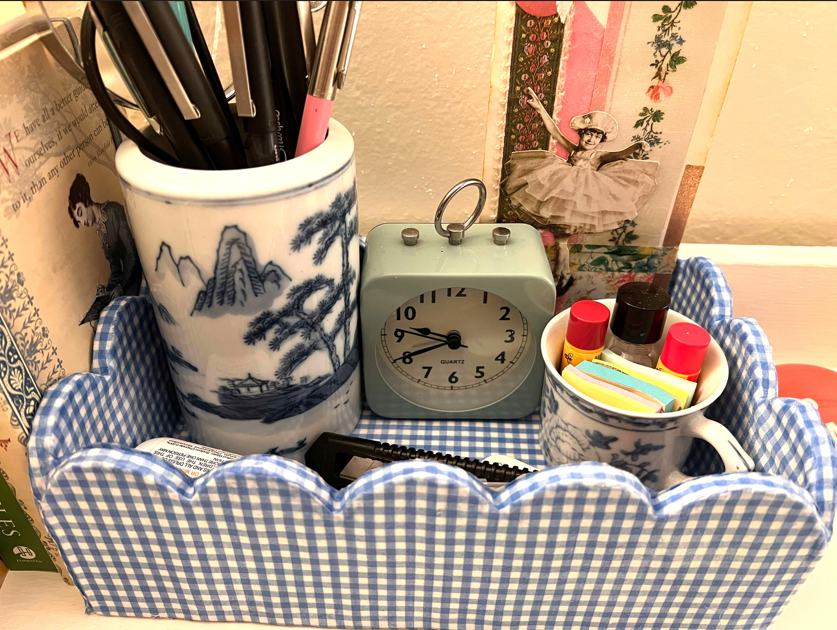
Now, fill it up and enjoy! Isn’t she pretty?
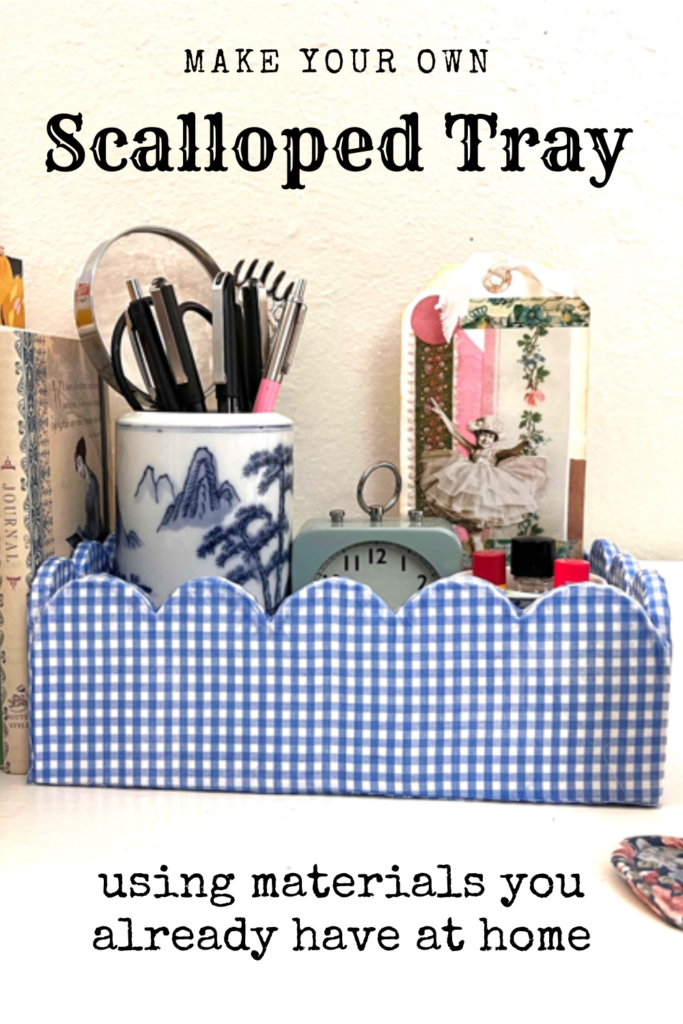
What do you think? Would you ever try making something like this or do you think it looks like a crazy amount of work? I loved making this and I love using it and seeing it on my desk. I am now making a letter tray for mail and projects in process. But, truthfully, I’m leaving off the scallops!

